 Lidar Extractor
Scanning in station mode
Station mode means putting the scanner on a tripod, letting it complete one full rotation on the spot, then moving it to the next position. It is how you get the best result the device can produce.
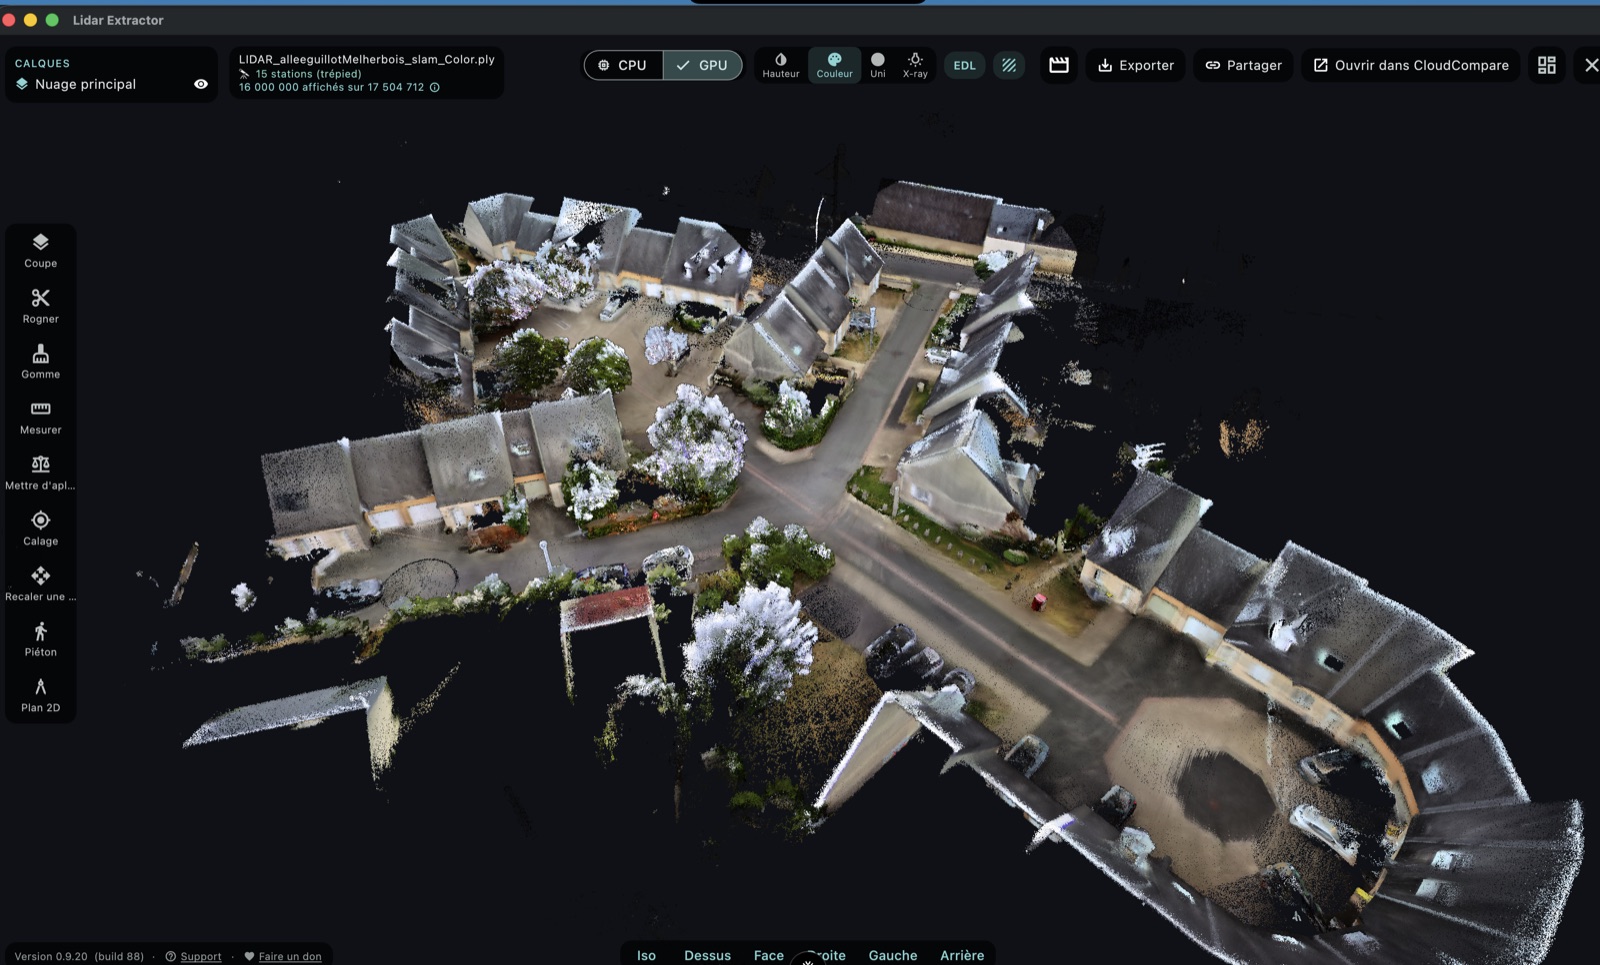
1. In the field, step by step
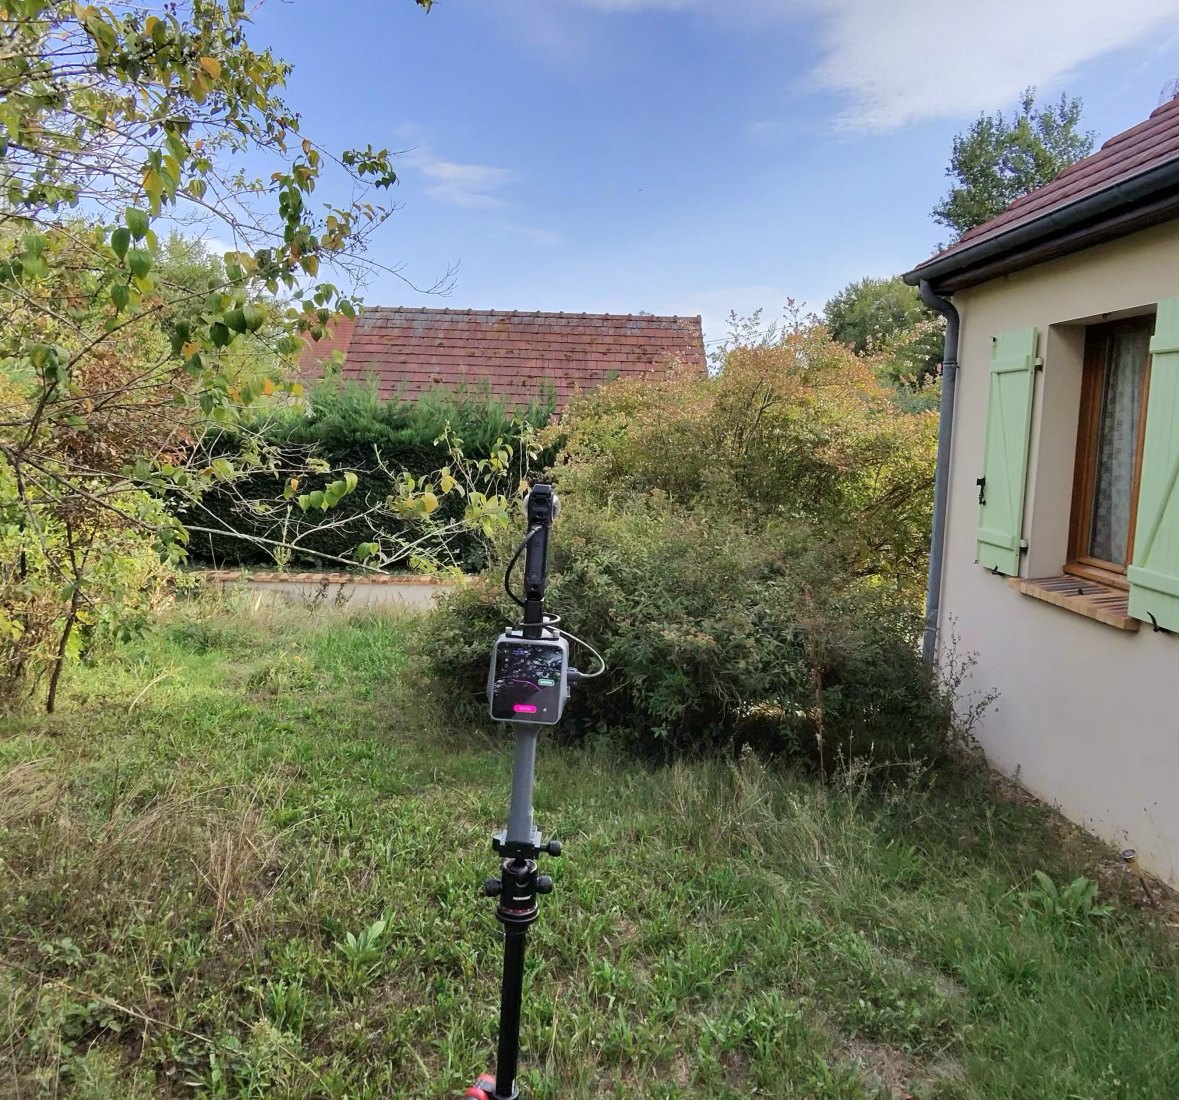
- Mount the scanner on the tripod and place it at your first position.
- Start the scan as usual.
- Stand still and step out of the way while the head makes one full rotation, taking 15 to 20 seconds — not faster, a rotation that is too quick is not recognised. That rotation is what makes the quality of the station.
- If your device has a STATION button on its screen, press it after the full rotation, then step aside during the countdown. The button is not required: the station is detected without it.
- Move the tripod to the next position, walking normally, and start again.
- Come back to your first position for the last station and make one more full rotation there.
If your device shows the STATION button, this is what you will see:
OKyou may move
2. Good practice
- Aim at buildings and hard surfaces. Walls, façades, concrete floors, low walls, posts: that is what the device uses to locate itself. The more it sees, the truer the cloud.
- Avoid scanning too close to moving foliage. A hedge, a tree, a shrub: leaves move between two passes and the device loses track. Walk along a wall or a driveway instead, and keep vegetation at a distance rather than brushing against it.
- Make one full rotation at every station, no exception, and do not move during it. A station cut short is worthless.
- Plan two stations per room indoors, and place one on each side of a doorway: that is what properly ties two rooms together.
- Close your loop. Finish where you started. That is what lets the application absorb the drift built up over the whole walk.
- Walk normally between stations, at a steady pace, without jolts or abrupt turns.
- Mirrors and large windows: cover them if you can, or note where they are. A mirror sends ghost points behind the wall.
- Do not scan into emptiness. A wide bare field with no building or wall within range gives the device nothing to hold on to.
- On a large ground area, work in 10-15 m discs. A station measures the ground well up to 10 m, acceptably up to 15, and almost nothing beyond 20 — especially on dark asphalt, which reflects the beam poorly. A car park is not scanned by walking around it: place stations every 15 m or so, so that their discs overlap.
- In front of a tall building, step back. From the foot of the façade the fifth floor is seen almost vertically and the camera gets little colour from it. Add a station at a distance equal to the building's height: from there every floor is seen head-on.
3. In Lidar Extractor
- Open the scan folder.
- The app shows the number of detected stations. Nothing to tick, nothing to set.
- Tick Colour from the camera to get the cloud in colour.
- Run the extraction.
In the viewer the stations appear as numbered markers, and the 2D plan places them correctly.
4. Colouring with the 360 camera (new)
Since version 0.9.22, the Insta360 X4 360 camera can colour scans made while walking (without STATION presses). It sees all around the scanner, where the scanner camera only looks forward.
- Mount the camera on the scanner (cage above the dome). It has to move with the scanner: that is what lets us synchronise it (through its gyroscopes) — a camera held separately on a pole cannot be synchronised.
- Record a 360 video for the whole scan: start the video before the scan, stop it after. Recommended settings: 8K, 24 fps, locked exposure.
- Put the video into the scan: in Lidar Extractor, open the scan folder, then the
360 camera tab. Connect the camera via USB (or click "Choose a .insv file…"): the video is copied
into the scan's
video360folder; nothing is written to the camera. - In the cloud options, tick Colour from camera, then on the Colour taken from line pick 360 camera (the chip only appears when a video is present).
- Run the extraction. The synchronisation and the camera orientation are measured automatically on the scan; if they cannot be, the app falls back to the scanner camera on its own and says so in the log.
On a tripod (station mode), the colour comes from the scanner camera, captured at rest at each station: it is the sharpest of all. The 360 video changes nothing there. The measurable virtual tour from these videos is still under development: measurements have improved a lot, but we will only enable it once they are reliable.
5. Which hardware was this version tested on?
Station mode in this version was developed and verified on the standard Raven scanner. That is the only device for which we can state it from measurement.
If you use another scanner there is a good chance it works, but we have not checked it ourselves. Tell us: write to us from the support page with your model and what you obtained. Your feedback is what lets us extend the list of confirmed devices.